Wednesday 30 November 2011

Taking Form


Now that i have the 2 front pieces of the jacket made, i put them back on the stand with the oversized zip pinned in to see how it would sit. i love the effect and the stiffened black PVC really add to the effect where the light bounces off the lumps and bumps. It reminds me of 2 things, a leather car interior/pumped up balloon about to burst.


The above images show the elastic structure at the back of the garment.


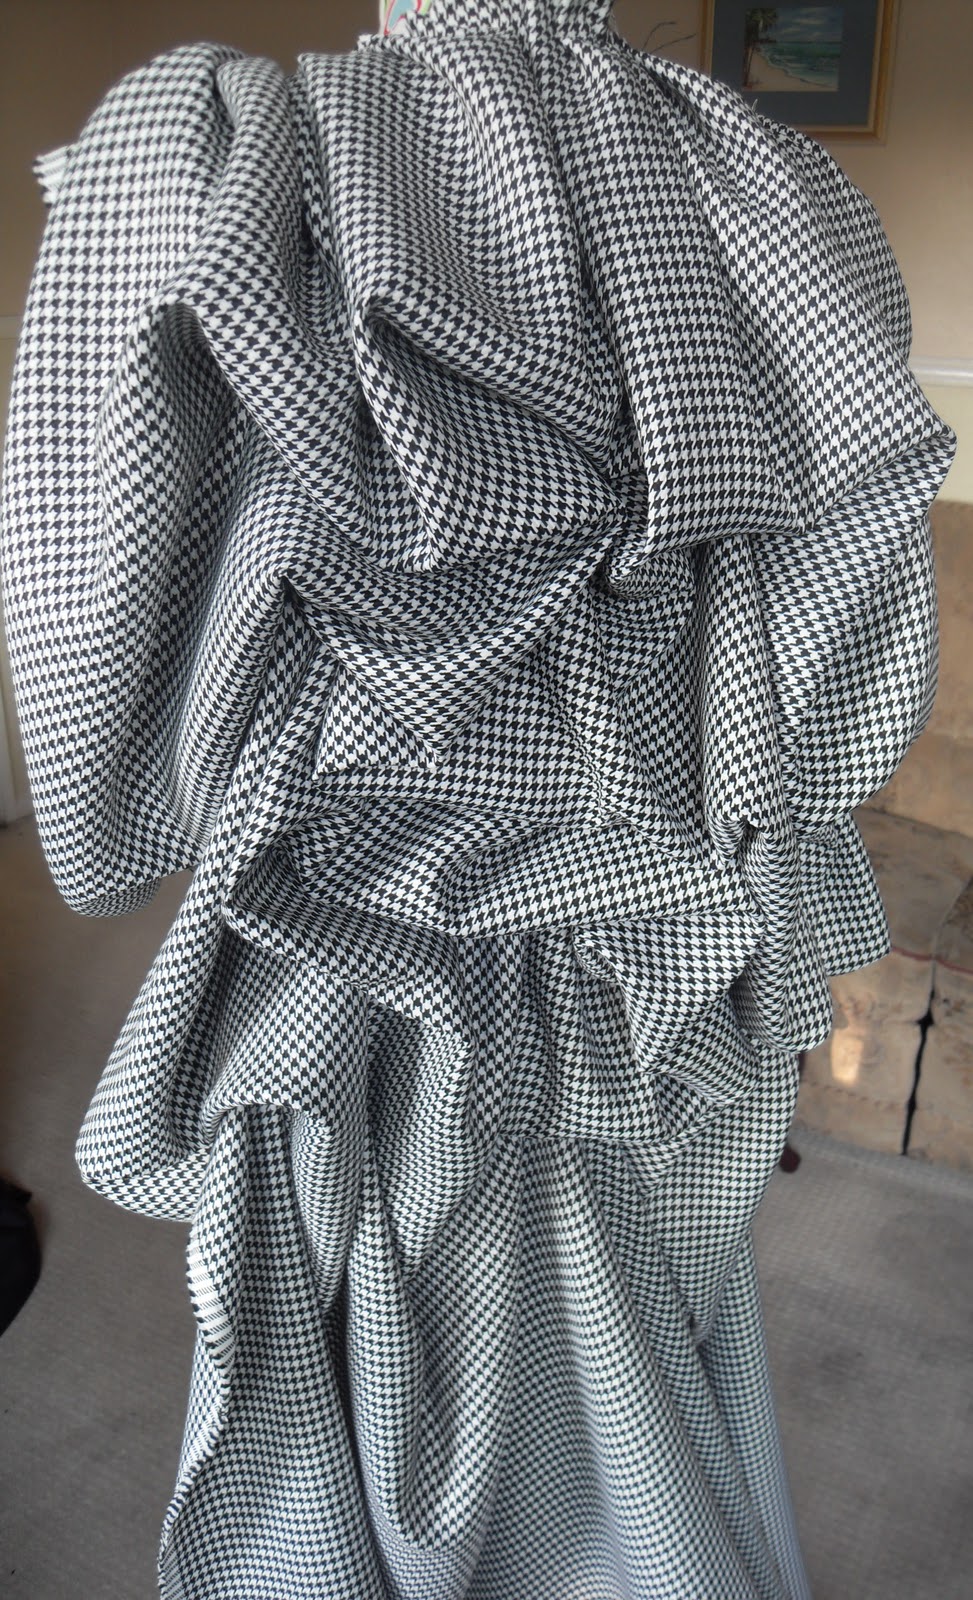
These images show the progression of the draped back. The image to the left i love as the pleated/folded hounds tooth material created a wonderful line sweeping down the side of the body. 


 The above picture really shows off the garment so well. Now fully draped at the back it looks much more interesting and tactile. I'm really happy with the outcome, Now i just have to sew it in place!


Blue Binding
Black Binding


VS


Tough decision isn't it!!


Inside of Jacket where drape are pinned

Friday 25 November 2011

The start of the End

 Now we have finished all our workshops, work has commenced on making our final structure.

Below are the first stages of production. Firstly using the technique from Week 1, taping paper round a mannequin to get a paper shell of the shape.

I then wrapped cling film over the top to allow me to start on the top layer. Taping a spray can, tissue packet and cello tape reel to the mannequin, i then applied the same process of tape and paper.


Below is what the final shape looks like from side and back view. i love the curved side seam as it makes it seem that the body is arched to create the shape. In order to keep the coat on, i needed a bit of material to go to the back where i am going to create an elastic structure.


Cut up pattern pieces

Traced pattern pieces with seam allowance

 Pattern layout on interfacing

Finished pattern piece but because i had a layer of PVC and the Interfacing, i pinned the two together round the edge so it would be easier to sew.

Below is one half of the coat. Outside and inside. I think using the black PVC makes it look great, a bit like upholstery for a car, but it was so hard to sew especially round the tight curved seams where i ended up with a few puckers!!!!! :(

Draping Development


 After doing the workshop on draping i was inspired to use it in my final structure and these pictures show on how i intend to incorporate the technique. I am thinking of using a foundation structure of elastic rather than a fitted bodice as when different people wear it the drapes will fall in a different way.


I think my choice of material, the hounds tooth, really shows the drapes of great ass the pattern dips and dives to contrast the way the grain line sits.


Design idea based on above images and my intention to  create for final piece 

Tuesday 15 November 2011

Week 9 - Part 2


 The second part of the lesson was to create our own drapery designs on the stand and below is what I and Shanika Vanhorne came up with collaboratively. I feel we grasped the aspect of the technique and it very easy to get an individualized look. 


Design ideas based round this technique

Week 9 - Part 1


The first part of the workshop was to be able to drape fabric on the stand to be able to create a simple bodice to build upon.


This was achieved by laying calico on the stand and creating darts on the back and bust creating a fitted garment. 


 The next step was to take the final bodice off the stand and transfer into pattern pieces which the pictures below show the steps.

Unpinning the shoulder and side seam
Laying calico template on spot and cross to trace off with tracing wheel
Final traced shape ready to add seam allowance